You have a character. You know exactly how they move, how they talk, what their first scene would look like. The gap between that image in your head and an actual animated clip has always been the problem.
It used to mean hiring a studio, writing a brief, waiting months, and spending more than most indie creators can justify. That gap is now much smaller.
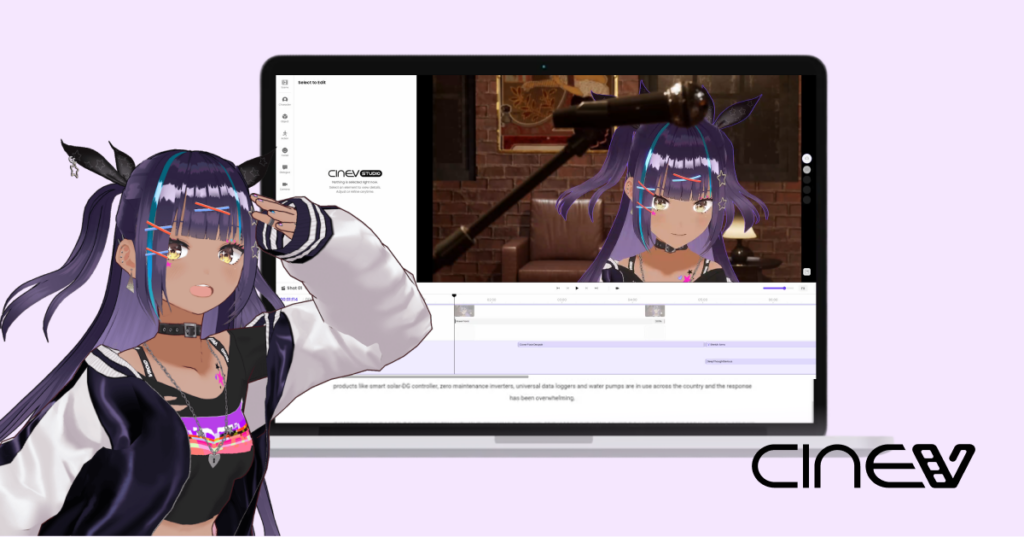
This tutorial walks through how to go from a static character reference to a short animated clip, using CineV’s storyboard canvas and AI video models including Seedance and Kling.
What You Need Before You Start
You do not need animation experience. You do need:
- A rough idea of what happens in the scene, even just one or two sentences
- (Optional) At least one clear reference image of your character (front-facing or 3/4 view works best)
- A CineV account (free credits are available on signup, no payment required to try)
The clearer your character reference image, the more consistent the output will be across shots. A single high-resolution panel from your webtoon is enough to get started.
Step by Step
Step 1: Input Your Story to Generate Storyboard and See the Scene Cards
Open a new project in CineV and enter a short description of your scene. It does not need to be a full script. Something like: “A young mage walks through a rainy marketplace at night, hood pulled low, glancing over her shoulder.”
CineV breaks this into individual scene cards automatically, each representing one shot. You can see the full sequence laid out at once, reorder cards, adjust shot descriptions, or remove scenes that do not fit.
This is the part that changes how you plan animation. Instead of thinking in clips, you think in story. You can see whether the pacing makes sense before a single frame is generated.
Step 2: Review the Full Sequence on the Canvas and Refine the Details
The first output from CineV’s storyboard gets you close, but it may not match your vision exactly. Go through the canvas, play the sequence in order, and identify what needs adjusting.
Regenerate individual cards as needed. You are not rebuilding the whole project, just the shots that need work.
Check for:
- Shot-to-shot character consistency (does the face hold?)
- Pacing (does each card feel the right length for what’s happening?)
- Anything that clearly does not match what you intended
CineV’s Edit in 3D lets you go further than regenerating. Unlike other tools where you describe what you want and hope the output changes, here you directly control the actors in the scene, the camera angle, field of view, and zoom. Point a character’s gaze toward another, add an action, or reframe the shot — all handled like a game controller, not a prompt box.
The storyboard is already a set table. Your role is the director adding the final nuance. A small adjustment at this stage can make a significant difference in how finished the scene feels.
Step 3: Cast Your Actor and Upload Your Character Reference
Every character in your generated clips can be replaced with your own. CineV supports both 2D and 3D formats:
- 2D: JPG, PNG (a single illustration or panel from your webtoon works fine)
- 3D: VRM files, or characters exported from platforms like Zepeto
Upload your reference on each scene card. Seedance and Kling both use this to maintain visual consistency across shots. Your character’s face, costume, and proportions carry through from one scene to the next.
One thing to know: the more distinctive your character design, the easier it is for the model to hold consistency. Generic designs with common color palettes can drift between shots. If your character has a signature element (an unusual hairstyle, a specific accessory, a distinctive color combination), that detail anchors the output.
Step 4: Add Effects and Enhance with AI Models
CineV currently supports Seedance 1.0, Seedance 1.5, and Kling. Seedance 2.0 is scheduled to be available within April 2026.
A rough guide for choosing:
- Seedance 1.5: Good balance of speed and quality for most webtoon-style scenes. Start here.
- Kling: Better for scenes with complex human movement (running, fighting, expressive gestures).
- Seedance 1.0: Fastest generation, useful for quickly previewing a shot before committing credits.
Select your model on each card and hit generate. Free credits let you test several shots without cost. More complex scenes or longer clips will use more credits.
Watch the first generated clip before generating the rest of the sequence. If the character’s face or style drifted, adjust the reference image or tighten the scene description before going further.
Step 5: Export and Next Steps
When the sequence is ready, you can select clips from the storyboard and export them as a single finished scene directly inside CineV. Basic editing tools are included at no cost: cuts, subtitles, inserts, transitions, voiceover, and audio.
If you need more control, export individual clips and bring them into CapCut, DaVinci Resolve, or iMovie. All three are free and sufficient for assembling a polished short. Add your own dialogue, sound effects, or background music at this stage.
What you have at the end is a short animated version of your scene. Not a finished broadcast product, but enough to show collaborators, pitch to publishers, or post as a preview to your audience.
Try It With Your Own Character for free
Free credits are included when you sign up. No payment required to get your first scene running.